How to Fix QuickBooks Error 1904?
QuickBooks, a leading software application for small businesses, is instrumental in managing accounting, payments, payroll, and more. But like any other software, it is susceptible to errors. One such error is QuickBooks Error 1904 Failed to Register, which can turn into a frustrating task. With this blog, we’re focusing on Error 1904, a frequent issue many QuickBooks users face. We also derive the reasons and how you can troubleshoot them for the continued seamless operation of your financial management. But first, know about the error in deep!
What is QuickBooks Error 1904?
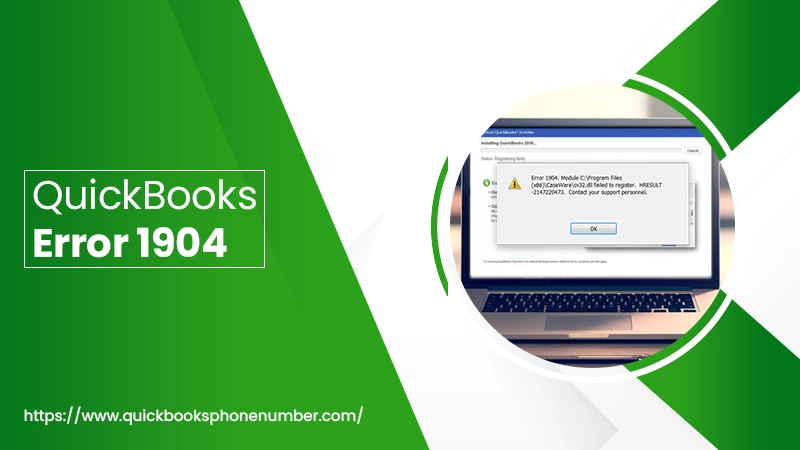
QuickBooks Error 1904 usually occurs while installing QuickBooks software or updating the program. The error message typically reads: “Error 1904: [file path/name/extension] failed to register.”
This indicates that QuickBooks has encountered a problem with a specific file during installation or update. It’s important to note that while this error can cause inconvenience, it does not threaten your company’s financial data, which remains secure.
This error can prevent the successful installation or updating of your QuickBooks software, leading to an inability to access the system or functionality interruptions. It’s an issue that can slow down your operations and needs to be fixed promptly to ensure that your business accounting processes remain efficient and reliable. In the next section, we’ll investigate why this error might occur.
Reasons for QuickBooks Error 1904
The following are the reasons for QuickBooks 1904 error:
- Incomplete or Damaged Installation: If the installation of QuickBooks or its updates is insufficient or the files are corrupted.
- Windows Permission Issues: Sometimes, insufficient permissions on your Windows user can prevent the necessary files from installing or updating.
- Interference from Security Software: Your antivirus or firewall settings might be too strict, blocking QuickBooks Updates or installations.
- Outdated Windows OS or Drivers: An outdated operating system or drivers may fail to support new installations or updates, causing the error.
- Broken Microsoft Component: If a Microsoft component that QuickBooks relies on is damaged or not functioning.
After the reasons, let’s proceed to fix the error 1904 QuickBooks.
Solutions to Fix QuickBooks Error 1904
Follow the given solutions and fix the error 1904 from your QuickBooks:
Solution 1: Use QuickBooks Install Diagnostic Tool
The QuickBooks Install Diagnostic Tool is a handy utility that can resolve QuickBooks Error 1904. This error is typically due to a damaged or corrupted file during installation. The tool effectively diagnoses the issue by scanning the QuickBooks files and automatically fixing any detected errors, ensuring a smooth and successful software installation. The following are the steps:
- Download the QuickBooks Tool Hub and launch the program.
- In the Tool Hub, pick the ‘Installation Issues’ tab.
- Click on ‘QuickBooks Install Diagnostic Tool.’
- Allow the tool to run; this may take up to 20 minutes.
- Once complete, restart your computer to ensure the changes take effect.
Solution 2: Change Your Windows Account Settings
To resolve QuickBooks Error 1904, you need to alter your Windows account settings with the following:
Switch to Your Windows Admin Account
Let’s change your Windows settings by using the Administrator account. This can help you fix QuickBooks Error 1904.
- Start by opening your Windows Start menu.
- Then, look for “CMD” in the search box. When you see CMD Run, right-click on it and choose ‘Run as administrator.’
- Now, in the command box, compose “net user administrator /active: yes” and hit the Enter key. Close this box when it’s done.
- After that, go to the Windows Start menu again and sign out of your account.
- Log back in, but this time, choose the Administrator account. You won’t need a password.
Change User Permissions
- Firstly, open the Windows Start menu.
- Secondly, search for “File Explorer” and open it.
- Thirdly, navigate to C:\Program Files\Common Files.
- Here, right-click on the ‘Common Files’ folder and select Properties.
- After that, find the Security tab and click on Edit.
- In the next window, click ‘Users’ in the “Group or user names” section.
- Below, in the “Permissions for Users” section, enable the Modify, Read & Execute, List folder contents, Read, Write permissions.
- Finally, click on Apply, and then OK.
Reinstall QuickBooks and Sign Out
- Begin with reinstalling QuickBooks Desktop. Your company files won’t be affected.
- When installing, go to the Windows Start menu and sign out.
- After that, log back into your regular account.
- Open the Windows Start menu.
- Find “CMD” in the search box. Right-click on CMD Run and select ‘Run as administrator.’
- In the command box, compose “net user administrator /active: no” and hit Enter. This will hide the Administrator account.
Solution 3: Manually Fix Windows Component
To get rid of the QuickBooks error 1904, you have to fix the Windows component with the following manually:
Fix Microsoft .NET Framework Errors
Let’s work on your Windows 10 settings for .NET Framework. This won’t uninstall programs but will ensure .NET Framework is working correctly.
- Firstly, close any programs you have open.
- Then, go to the Windows Start menu.
- After that, search and open “Control Panel”.
- Now, go to ‘Programs and Features.’
- Click on ‘Uninstall a Program’.
- Find and choose ‘Turn Windows features on or off’.
- Lastly, in the list, find .NET Framework.
You’ll check settings for both .NET Framework 4.5 (or later) and .NET Framework 3.5 SP1.
Note: The method to adjust .NET Framework 4.5, 4.6, 4.7, and 4.8 is identical.
For NET Framework 4.5 (or newer)
If the .NET Framework 4.5 (or newer) box isn’t ticked:
- Mark the box to enable .NET Framework 4.5 (or newer).
- Press OK to preserve your modifications.
- Reboot your device.
If the .NET Framework 4.5 (or newer) box is already ticked:
- Uncheck the box to disable .NET Framework 4.5 (or newer). Don’t turn it back on.
- Press OK to preserve your modifications.
- Reboot your device.
- When you log back into Windows, repeat the steps to enable .NET Framework 4.5.
For NET Framework 3.5 SP1
If the .NET Framework 3.5 SP1 box isn’t ticked:
- First, mark the box to enable .NET Framework 3.5 SP1.
- Then, press OK to save your modifications.
- Last, reboot your device.
If the .NET Framework 3.5 SP1 box is already ticked:
- Uncheck the box to disable .NET Framework 3.5 SP1. Don’t turn it back on.
- Press OK to preserve your modifications.
- After that, reboot your device.
- Once logged back into Windows, follow the steps to enable .NET Framework 3.5 SP1.
Repair MSXML
For a 64-Bit operating system, follow these instructions to register MSXML:
- Firstly, click the Start menu on Windows and type ‘cmd.’
- Secondly, right-click ‘cmd’ and choose ‘Run as Administrator’.
- Then, at the C: prompt, type ‘cd\windows\syswow64’.
- After that, input ‘regsvr32 MSXML6.dll’ and press the Enter key.
- Lastly, Install QuickBooks Desktop software.
For a 32-Bit operating system, carry out these steps to register MSXML:
- Initiate the Run command by pressing ‘Windows+R’ on your keyboard.
- Input ‘cmd,’ then hit the Enter key.
- Type ‘regsvr32 MSXML6.dll’, then hit Enter.
- Proceed with the installation of QuickBooks Desktop software.
Reach Us Out!
The QuickBooks error 1904 is resolved now! Above are the main resolutions to fix the error 1904 from your QuickBooks and get back to work with your accounting. However, if you still face the error, contact our ProAdvisors to resolve it with some other techniques. Thank You!
0 Comments